
1.下载mysql 软件
官网版本地址: https://dev.mysql.com/downloads/mysql/
2.解压安装包并安装。
# tar -xvf mysql-5.7.29-1.el7.x86_64.rpm-bundle.tar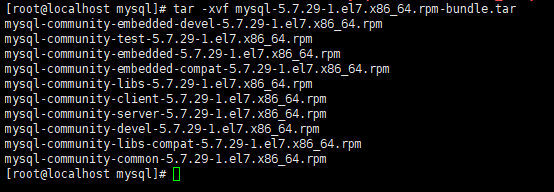
严格按照顺序安装:
mysql-community-common-5.7.29-1.el7.x86_64.rpm、
mysql-community-libs-5.7.29-1.el7.x86_64.rpm、
mysql-community-client-5.7.29-1.el7.x86_64.rpm、
mysql-community-server-5.7.29-1.el7.x86_64.rpm这四个包
3.配置数据库
vim /etc/my.cnf
添加这三行
skip-grant-tables
character_set_server=utf8
init_connect='SET NAMES utf8'
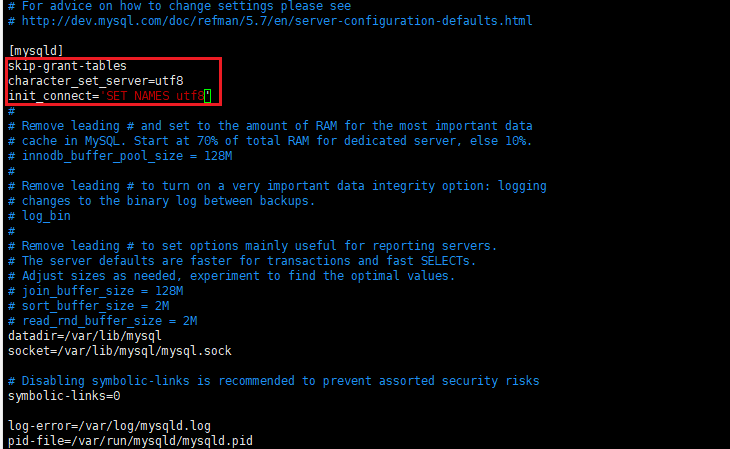
skip-grant-tables:跳过登录验证
character_set_server=utf8:设置默认字符集UTF-8
init_connect='SET NAMES utf8':设置默认字符集UTF-8
4.启动mysql
启动mysql
systemctl start mysqld.service
5.设置密码
update mysql.user set authentication_string=password('123456') where user='root',如果是mysql8.0已上请看另一篇文章
6.设置密码策略(密码最短长度,以及复杂度等)
查看密码策
SHOW VARIABLES LIKE 'validate_password%';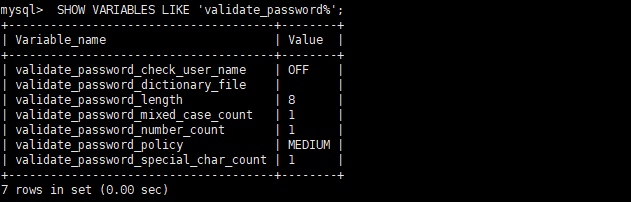
set global validate_password_policy=LOW;
如果时mysql8.0 已上为:
set global validate_password.policy=LOW;
7.编辑my.cnf配置文件将:skip-grant-tables这一行注释掉,并重启mysql